Laser Cutting Documentation Blog Entry
In this page, I will describe:
The 4 important hazards associated to the operation of laser cutting machine and their respective safety control measures (administrative/engineering control).
The materials that can be cut and can’t be cut using laser cutting machine.
The steps including pictures on the operation of UNIVERSAL laser cutter, that consist of:
Starting the compressor, turning on the laser cutter machine and fume extractor.
Importing a .DXF file to coreldraw and modify the lines/fill for cutting and engraving.
Sending the coreldraw drawing to laser cutter software and setting the laser cutter power, speed, PPI in the software.
Starting the job on the laser cutter machine.
DOs and DONTs when there’s flame/fire on the material being cut.
My Learning reflection on laser cutter activities.
These are the 4 important hazards and the respective safety control measures on the operation of laser cutting machine:
Hazards | Safety control measures | Pictures to support the explanation |
Material catching on Fire
| Engineering:
Administrative: | 
|
Breathing in toxic Air generated during laser cutting that contains particulate debris
| Engineering:
Administrative: |
|
The laser malfunctioning and the laser beam escaping from the laser cutter
| Engineering Once the top hood is lifted up,the laser cutter beam will stop immediately. There is an emergency stop button near the laser cutter.
|
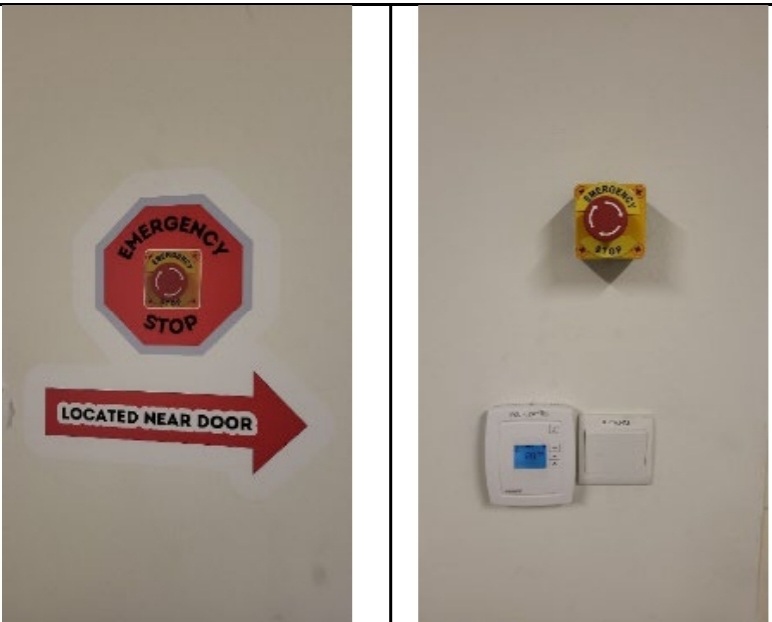
|
Severe eye damage caused by exposure to laser beam
| Administrative: | - |
Below are the materials that can be cut/engraved using laser cutting machine in FabLab.
Material | Photo of material |
Paper/ White Card
| 
|
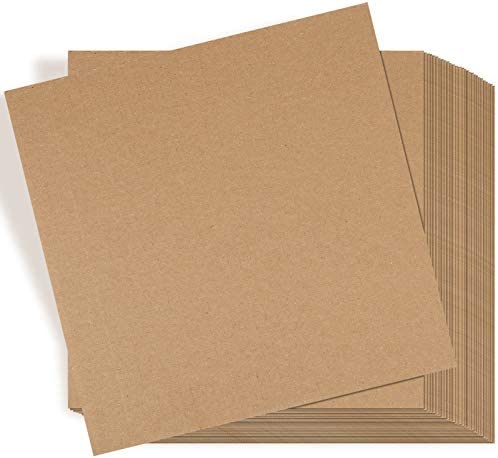
Cardboard
| 
|
Balsa wood
| 
|
Acrylic
| 
|
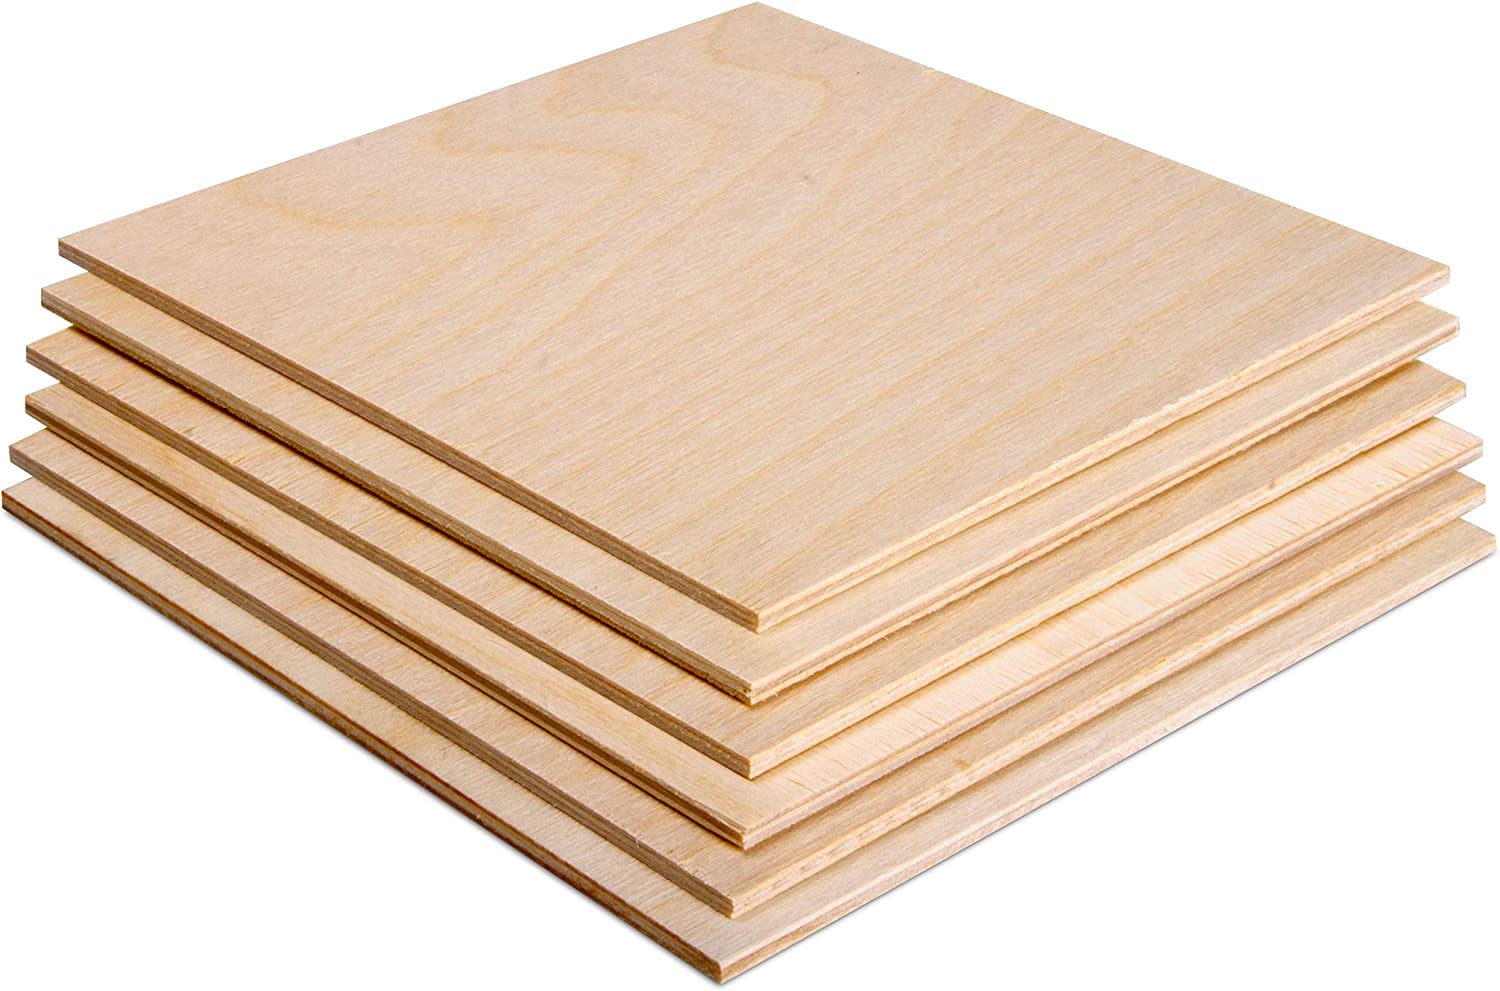
Plywood
| 
|
Below are the materials that can’t be cut/engraved using laser cutting machine in Fablab.
Material | Photo of material |
PVC
| 
|
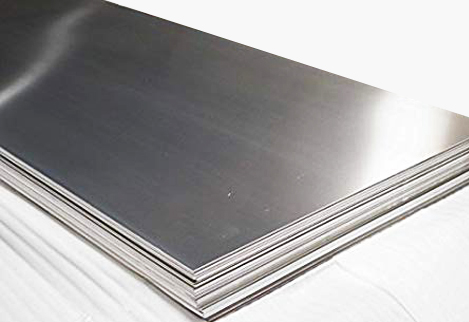
Metal
| 
|
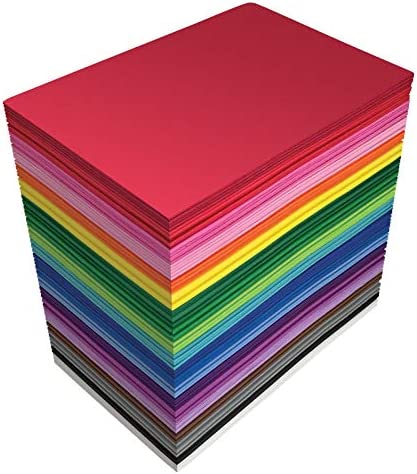
Foam
| 
|
Rubber
| 
|
Below are the steps on the operation of UNIVERSAL laser cutter machine in FabLab:
Starting the compressor, turning on the laser cutting machine and fume extractor.
Steps and description | Photos to support the description |
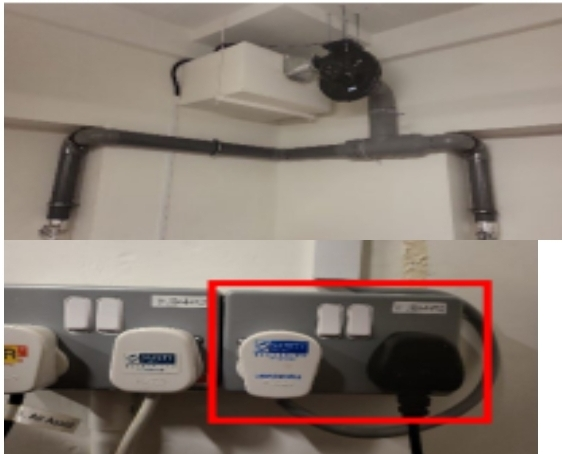
Locate the switch and and turn on the fume extractor and the air assist. |
|
Switches for Fume extractor
| |
Turn on the power for the laser cutter. | - |
Importing a .DXF file to coreldraw and modify the lines/fill for cutting and engraving.
Steps and description | Photos to support the description |
1.In the Corel Draw Software, select file > import > locate the .DXF file and import.
| 
|
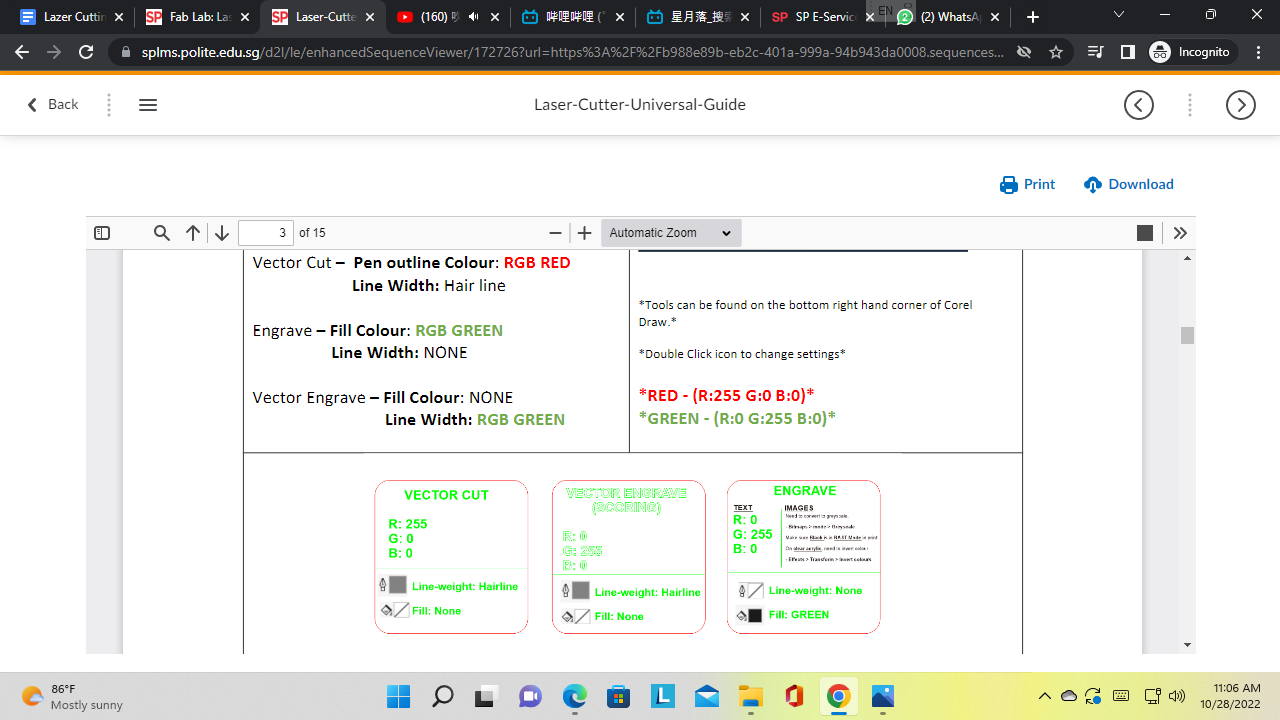
Set the line colour and width to choose either a vector cut, engrave or vector engrave. Make sure that for all engraving all the colour settings are RGB Setting for each cuts | 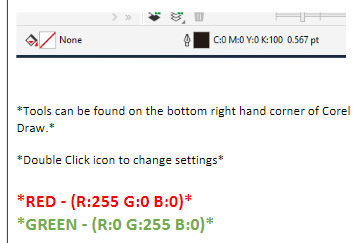
|
To change the fill colour. Double click on the fill tool at the bottom right. Under the fill tool, Select the Solid Colour icon. Select RGB for colour model Change the RGB colour to R:0 G:255 B:0 . Click OK.
| 
|
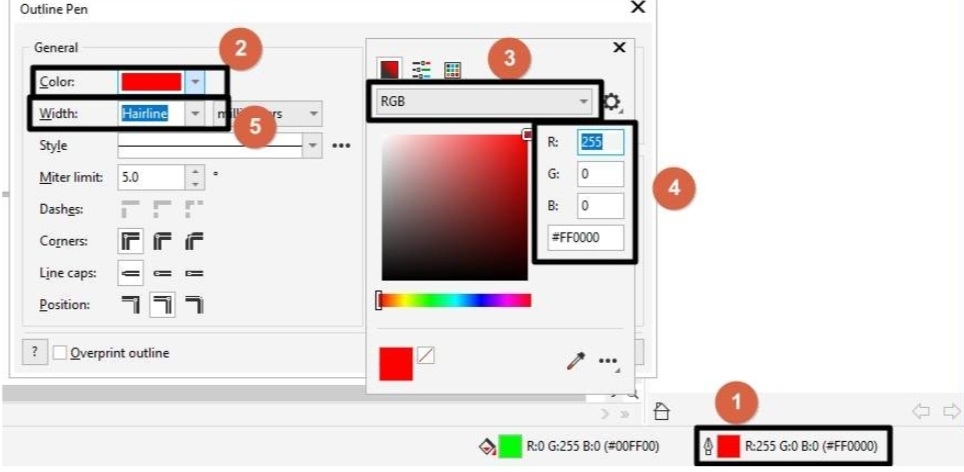
To change the line colour Double click on the Pen tool at the bottom right Select colour drop-down list A pop-up will appear, select RGB Change R:255 G:0 B:0 (for Red) / Change R:0 G:255 B:0 (for Green) Select Width to Hairline. Click OK
| 
|
Sending the coreldraw drawing to laser cutter software and setting the laser cutter power, speed, PPI in the software.
Steps and description | Photos to support the description |
On CoralDraw, select file > print
|
|
Click on the Cogwheel for settings
|
|
Universal’s Material setting will appear. Click on LOAD for more material settings |
|
Select the presets that matches your material type and thickness and select OPEN
Check all these before sending it for cutting!
POWER: describes the output power of the laser. 100% is maximum power (will cause ugly charring). For dark wood engravings or stamp engravings, you generally need high power, whereas low values are used for materials such as paper.
SPEED: describes the movement of the laser head. Fast speeds lead to short exposure times, slow speeds lead to long exposure times.
PPI: Pulses Per Inch, Frequency may also be known as PPI or pulses per inch and is a way to control how many times the laser pulses over a given distance during the cutting process. The higher the frequency the more pulses you have and the more they will overlap resulting in a smoother cut, however the downside to this is that the higher the frequency the more heat it creates while cutting which can cause melting or charring on certain materials.
Z-Axis: Usually set as the material height for optimal focus point |
|
Click apply > OK, once done. | - |
It will return back to the setting page. Click print. | - |
Starting the job on the laser cutter machine.
Steps and description | Photos to support the description |
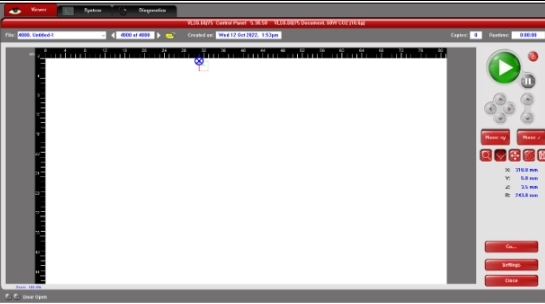
The Control Panel will pop up after selecting the icon. If it doesn’t it is running in the background, click on the UCP icon on the computer toolbar to open the control panel.
Function of the various button on the panel
1) Activate/ Deactivate the Laser cutter 2) Play Button to start Cut/ Engraving 3) Pause Button to pause/resume the Cut/Engraving 4) Essential tools Settings – to change or set settings for different material
|

|
Place the material in the laser cutter machine. | - |
Click on the activate button if the laser cutter is not activated. | - |
Check the Horizontal and Vertical sides of the ruler and use the Move tool to move the object to the empty space of the material.
| 
|
With the lid still open, click on the FOCUS Tool, and a crosshair will appear. Check if the file is within the safe cutting area, the object should not be cutting over the voids of the material . |
|
Click as close as possible to the extreme bottom right corner of the file. The laser head will then move to the point, making sure hands are cleared from the area before doing this. Can check more than one point for the safe cutting area. |
|
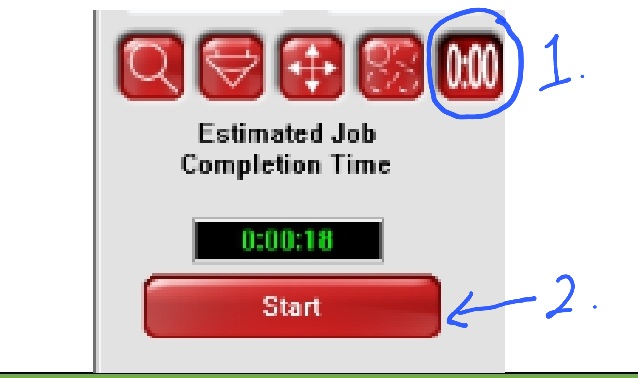
Once done checking, click on Estimate time Button and press the START button to check for the timing.
| 
|
Once everything is ready and set, shut the lid gently and press either the green button on the laser cutter or the green button on the Universal Control Panel
*Note: Monitor the cut by glancing at it. However, PLEASE DO NOT STARE AT THE BEAM! |
|
DOs and DONTs when there’s flame/fire on the material being cut.
DOs and DONTs | Photos to support the description |
DON'T Panic | - |
DO wait and see if those are just sparks. When cutting, small flames are to be expected. | 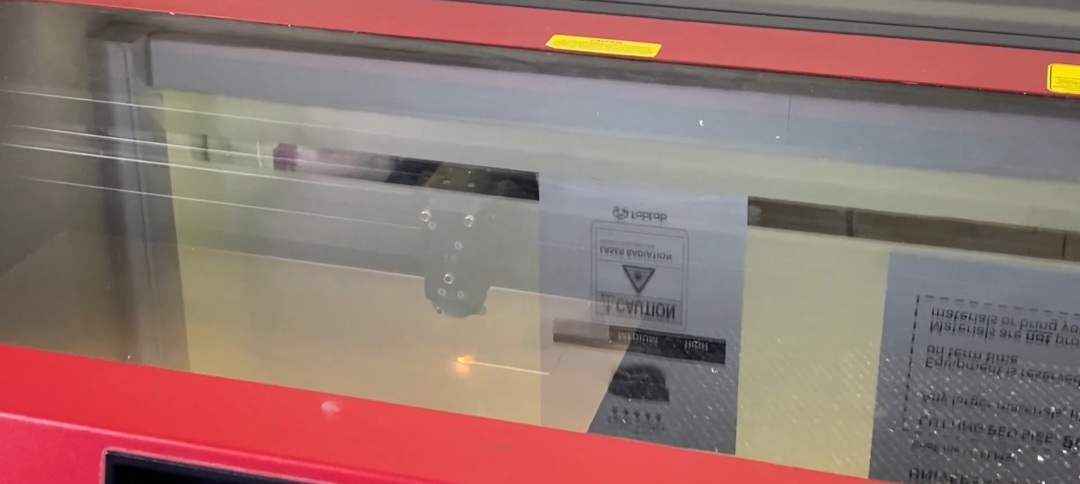
|
If material stays on fire DO immediately hit the emergency button / switch off the power. | 
|
DO open up the cover to cut off the laser. | 
|
DO Attempt to blow off the flame. /Place it on the floor and step on it. (Only if you feel safe) | - |
Do Notify staff on duty immediately | - |
DO use a Fire Extinguisher, If the fire is severe and uncontrollable | 
|
Below is my Learning Reflection on the laser cutter activities.
When I first heard that we had to do laser cutting, I was quite nervous as this is my first time doing it and coming into contact with the coreldraw software. There was online learning that I had to do and safety quizzes before I could access the FabLab for the laser cutter. The laser cutter competency test is actually my first time seeing and touching the machine itself.
In the online lesson package that I had to attend, it introduced me to laser cutting, how it works, setup, designing, software controllers and the type of laser cutter that are available in the FabLab. I also get to learn about the type of materials that can and cannot be used. There are several hazards and safety precautions I have to take note of also before entering the Fablab. For my case, since I am using the laser cutter in the school library I will be using the universal laser cutter.
I learn the setting for the different functions. Red for cutting and green for engraving. There are 2 settings that I can change. One is the outline which for now I have only learned to change to hairline and the second is the fill colour.
After changing the outline and fill colour, I can then send it to print. Before that though, I have to load the material setting into the software. This will depend on what material you are using e.g. 3mm acrylic. Of course, it is possible to manually set and change the individual setting like power to a different value. However, it is too advanced for me now so I will just be using the preset settings.
All in all, while there was some apprehension at first as I am learning and interacting with new things, I am still quite satisfied with how things work out in the end.






Comments
Post a Comment